
Time:2024.07.26Browse:1
Step 1:
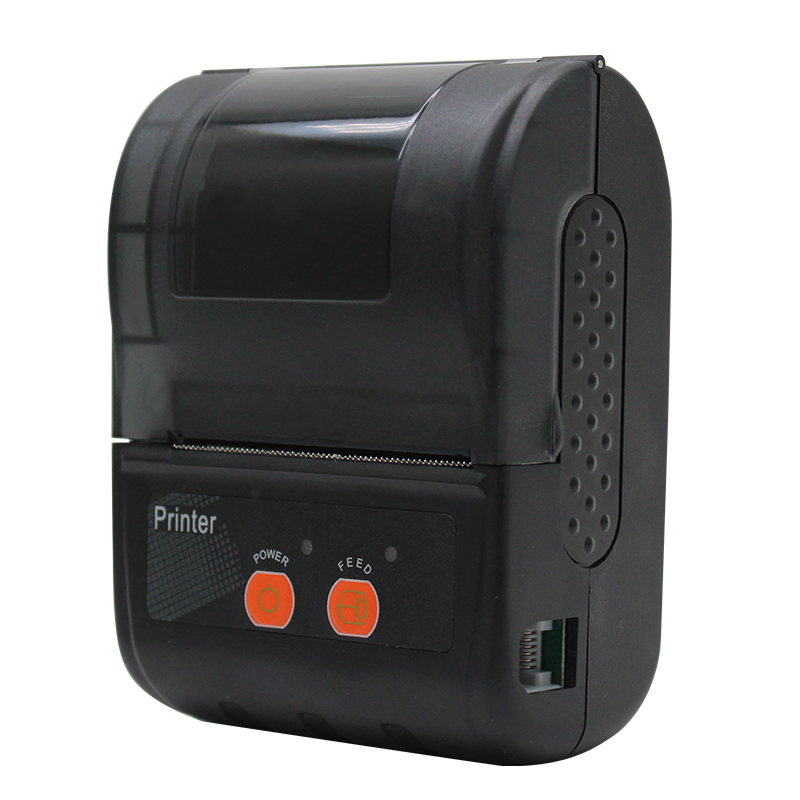
When we receive a label barcode printer, the necessary steps are to install the power supply, data cable, and consumables. Although it is simple, users will still forget it in practical operation.
Step 2:
Calibrate the paper, this operation is to enable the label barcode printer to recognize the label normally, ensuring that the label can be accurately conveyed during printing to avoid waste.
Step 3:
After completing the basic operations, it is still necessary to set the working mode of the label printer according to our usage needs. For example, "Should I print thermal labels or thermal transfer labels?", "Do I need to tear, cut, or peel the paper after printing?", and so on, all require corresponding settings in the label printer to achieve. To set these functions, users need to configure them through the operation panel and LCD menu before printing, find the corresponding functions and select them, which is simple and fast. The LCD menu setting function of the label printer is very comprehensive, including: printing blackness, speed, interface language, network port, default gateway, IP address, subnet mask, detection length, offline printing, as well as paper tearing, positioning, cutting, peeling offset adjustment, printing content level, vertical offset and other adjustments
Step 4:
The computer settings mainly include settings for drivers and printing software. Similarly, these are also based on the actual situation of users. Users often ask questions such as "How should I set my label size?" "How much print density should I set?" "How can I design the label layout I need?" These questions can be set in the software section.
Key steps for setting:
① Type of label; Including: labels positioned with spacing, labels positioned with black markings, labels positioned with circular holes, or continuous paper, which can be set in the driver.
② Actual size of label; Use a ruler to measure the actual height and width of the label, and set it in the corresponding position in the software (note: incorrect height filling can easily lead to interlaced printing). At the same time, if the label is in multiple rows and columns, the height of the label should also be filled in at the row and column numbers in the software.
③ The material of the label; According to the different materials of the labels, users need to choose a matching carbon ribbon for printing, and the blackness setting for printing also needs to be adjusted accordingly. For details, please consult the local consumables sales point.
Attention: After completing the above four steps, users can start designing according to their own label content and layout requirements, usually in the printing software that comes with the label printer.
Read recommendations:


Building C, Bairongda, Ma'anshan, Bao'an District, Shenzhen City, Guangdong Province
Tel:18823301751
Service Hotline:400-008-8930


 2024-08-28